How to Use Low-Budget Props, Moulage to Set Healthcare Simulation Scenes
There are many inexpensive and powerful ways to facilitate learning in a healthcare simulation scenario. There is a saying that “a picture is worth a thousand words,” and this holds true for what learners see when they approach a learning environment in a healthcare simulation scenario. Instead of a picture, however, the simulationist uses moulage and props to make the “picture” come to life. This HealthySimulation.com article will explore successful and simple ways to get a healthcare simulation learning objective across using props, moulage, and backdrops.
Ensure Props Facilitate Learning
Clinical simulation props and the healthcare simulation scene setup should be congruent with the medical simulation scenario story. Incongruent use of props will make suspending disbelief and fully engaging in the healthcare simulation more difficult for learners. Simulationists must be careful not to distract learners from achieving the objectives. Using big impact props and moulage in the scenario that may not really facilitate learning may be tempting, however.
Sponsored Content:
An example of this would be the use of maggots and fly larva in a wound during a clinical simulation involving the recognition and treatment of wound infection. This makes a big impact on the learners but does not necessarily facilitate learning. In my experience, maggots did not improve the clinical scenario any more than using redness and purulent, foul-smelling drainage at the wound site.
The learners were so taken aback by the finding of maggots that this consumed valuable time in the scenario. The presence of maggots also gave away the answer that there was indeed an infection instead of leading the learners to inquire further. Redness and purulent, foul-smelling drainage is what learners are most often going to see in practice and is easier to create as well.
Simulationist’s Role in Setting the Scene
The healthcare simulationist’s role is to use props and scene setup to enhance the scenario story in order to facilitate the achievement of learning outcomes. When thoughtfully prepared they will help the learner suspend disbelief and provoke critical thinking. Learners will be led to obtaining additional information needed to accomplish the scenario objectives. Props such as maggots in a wound, as in the example above, should be saved for clinical simulation scenarios in which learners already know that infection is present and are expected to address issues beyond that finding.
Sponsored Content:
Maggots could indicate environmental issues, patient, self-care issues, or worsening of an existing wound. Props could include soiled dressings and disheveled clothing in addition to maggots. A foul odor could be added as well. The patient history could include homelessness or poverty. These clues present the learners with a deeper opportunity for inquiry and fit the story and purpose.
Simplicity is Key
Many times the teaching faculty are both the simulationist and the facilitator. Being able to set the scene efficiently and effectively in a short period of time is especially important. Finances are also usually limited. Here is an example of a simple prop idea for a scenario in which the learning objective is to safely administer a flu vaccine to a healthy patient.
Set an empty take-out coffee cup beside a patient. Set initial vital signs to reveal a fever. The student nurse must determine the next steps. In my experience, some learners immediately recognized that the patient had a hot coffee cup beside him and inquired about the last oral intake and the presence of any symptoms of illness. Some did not. Learners being able to recognize the significance of rechecking the temperature after determining that the coffee had been taken orally is also important. This simple prop enabled learners to develop situational awareness and reinforced the role of proper assessment in the safe administration of a vaccine.
Toy Food Props
Toy food is an excellent prop to use when learners need to identify appropriate versus inappropriate food choices for a patient. Products can be purchased as toys from department stores or online. Several options are also marketed as simulated food sold by medical and simulation supply companies. I have found that purchasing toys is less expensive.
A meal tray for a diabetic patient can be set up with too many carbohydrates. A patient with a food allergy could be given the food they are allergic to. A patient on fluid restriction could be offered coffee, juice, milk, and soup on a single meal tray. Calorie count calculation can also be practiced with these props. Learners could be challenged to build a patient diet tray using their knowledge of the patient’s nutritional needs and restrictions. Simulated food props can also be made using color-printed product labels affixed to food-type containers and boxes.
Blood as a Prop
Bleeding is a favorite moulage trick but can be very messy and thus time-consuming. I have developed an easy way to reproduce excessive bleeding to infer hemorrhage without the mess: Soak a disposable under-pad with a simulated blood product (preferably commercial blood product as it tends to maintain its authentic color when dry). Once the pad has dried, simply laminate the pad with adhesive laminating sheets.
Several different amounts can be produced and re-used as desired. In a healthcare simulation scenario in which post-operative hemorrhage occurs, a post-operative gauze dressing can be soaked with the same blood product and allowed to dry, then affixed to the operative site. If worried about the transfer of the blood to a manikin, laminate or apply a transparent dressing to the underside of the gauze so that the dye does not stain, or simply soak the outside of the dressing.
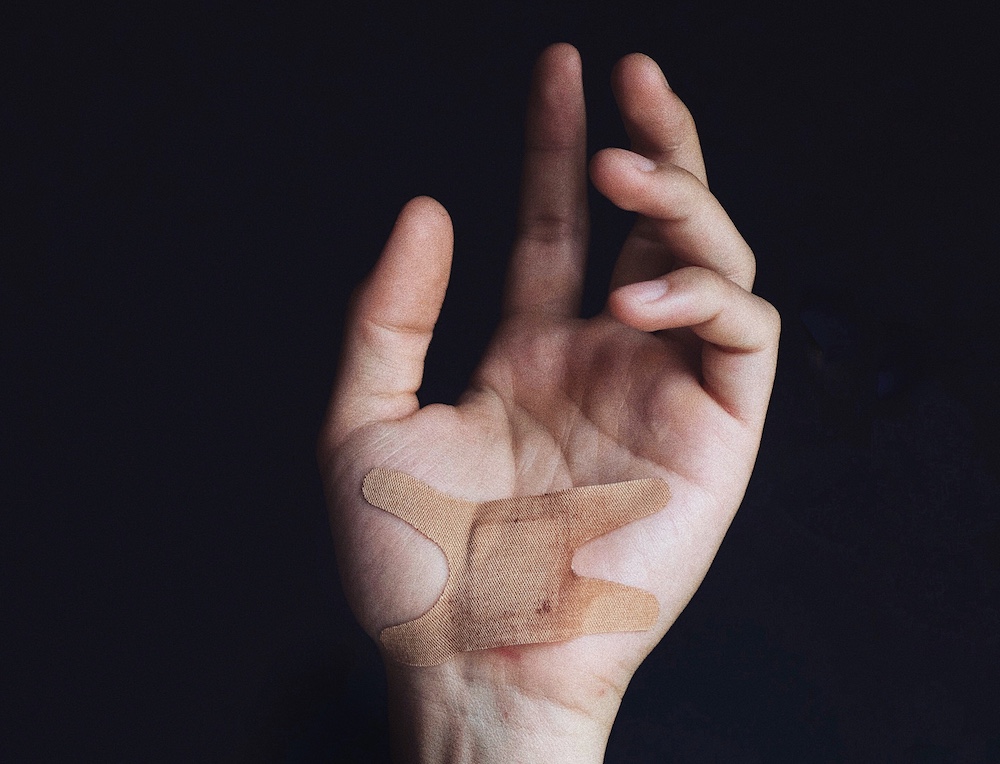
This, in addition to the laminated disposable under-pads will lead learners to conclude that the patient has unexpected or uncontrolled bleeding. For laparoscopy site bleeding, use red dry erase marker on the underside of a bandaid, and rub the top with your fingernail to let the color “bleed” through. Apply adhesive tape as a barrier to the side with the marker in order to protect your mannequin from staining. A reusable blood puddle can be created using a clear caulk colored with acrylic paint and spread out on a vinyl cutting board in a well-ventilated area and allowed to dry, a urine puddle can be created in the same way.
Scene Backdrop Ideas
There are backdrop curtains on the market that use the same hooks and tracks as ceiling-mounted patient privacy curtains use. I have installed a track to cover the patient room headwall and diagnostic equipment in an acute care simulation room. I use this track to mount a scene backdrop curtain purchased from KB Port. There are several scenes available from medical settings to outdoor street scenes as well as various rooms in a home. I especially like the one that looks like a home living room.
Before our healthcare simulation center was able to purchase a commercially made backdrop, the solution was to simply use blankets and curtains draped over privacy screens with inexpensive framed pictures hung on them. The sharps container and glove boxes were hidden by inexpensive wall décor. Small countertop appliances were donated by faculty, as well as lamps.
Using lamps allowed us to avoid using the overhead lights, enhancing the home-like feel. The hospital bed was made up using donated clean bedding from someone’s home. The headboard and footboard were removed and a bed skirt covered the side rails, foot brake, and bed controls.
More Scene Enhancement Ideas
Scattering piles of newspapers and magazines, throw rugs, clothes, and empty food and drink containers around the room and floor could simulate a hoarding situation in a home. The presence of rodents can be inferred by making mouse droppings out of dark brown clay, letting them dry, and placing them by a mouse trap. The droppings can be saved and re-used. There are simulated cats available for purchase that can be placed around the room as well, along with empty cat food cans. Carefully chosen food in the cabinet could represent poverty and poor nutrition.
Simply purchase high salt, less nutritive, ready-made food products at a dollar store like canned soups, stews, and chili. I sometimes add several full cans of cat food and very little human food, when the objective is for the learners to recognize food insecurity or identify a situation in which a client may be using their money to buy food for their animals instead of themselves.
All of these props are re-usable, easy to set up, and relatively inexpensive. Artificial flowers on a table and photos of the client’s loved ones also add to the setting. Dirty dishes could be made using cracker crumbs, coffee grounds, and acrylic paints. Dish towels hung by the sink are also easy to add and enhance the scene.
Props That Use Touch and Smell
In addition to what is seen and heard, the use of touch and smell, when appropriate, can further engage the learners. Crepitus at a chest tube site can be simulated by placing crispy cereal in a small bag just under the top dressing layer. Bubble wrap can also be used for this but I have found the cereal to be more realistic.
Tunneling of a wound can be reproduced using clay beneath and affixed by a transparent dressing. Next cut a small hole where the tunneling is located. Use a long cotton swab to make the tunnel. To make a limb without a pulse seem cold to touch, apply ice packs to that area prior to the learner’s arrival. Apply a hot pack to the opposite limb to increase the effect. Discretely remove both just before learners enter the room.
There are scent products available for many common odors such as urine, blood, rotting flesh, stool, and others. When sprayed on a disposable cloth hidden near the spill, it can effectively trick the senses. Using these scents sparingly and spraying them onto something you are readily able to dispose of, as the scent rarely comes out of whatever sprayed on is important.
I prefer to use flushable toilet tissue. For cigarette smoke, I have filled an ashtray with cigarette ash and discarded cigarette butts. The odor was strong enough to “fill” the room. I placed a cigarette in the hand of the simulator and a box of cigarettes in their shirt pocket. This made the learners aware that the patient was actively smoking. For a safety scenario, the patient could also be wearing simulated oxygen.
Using Temporary Tattoos
Temporary tattoos can be used for wounds. A fresh post-operative staple or suture line can be simulated by applying a staple or suture wound tattoo followed by orange-tinted white liquid washable glue brushed onto the surrounding skin to represent the surgical prep product used. Wounds with drainage can be made using a combination of tattoos and simulated blood or purulent drainage.
Temporary tattoos are inexpensively available at dollar stores, other retailers, and online. There are also printable tattoo papers available for learners and educators to make their own. Be careful of ink transfer to a manikin. Learners and educators may want to affix a barrier to the skin first or test the tattoo prior to use on a manikin.
Bring Simulations Alive with Moulage
Providing sensational props and unnecessary moulage is tempting but can distract the learners and negatively impact the scenario objectives. The use of carefully chosen moulage and props that are specifically focused on the scenario objectives can truly enhance learning. Setting the scene can be done by buying backdrops or by independently making a backdrop.
Appropriately involving the learners’ various senses can help them suspend disbelief and more fully engage in the scenario. Many props can be made or acquired inexpensively especially if reusable. Healthcare simulation blogs and books have a plethora of DIY ideas using common items. Props, moulage, and backdrops can make a clinical simulation scenario truly come to life.
Check Out These Free Medical Simulation Scenarios
Michelle Sherlin, RN, BSN, CHSE, is the full-time coordinator of the 18-bed simulation lab at the Holyoke Community College Center for Health Education and Simulation. She has patient simulation experience dating back to 2002 when she started healthcare simulation at a vocational school and progressed to implementing simulation activities for several area schools and health care facilities. Her background includes curriculum development at the high school and college levels. Sherlin has hosted patient simulation-related conferences and presented on a multitude of topics. She stays current in nursing practice by working as a staff nurse in the Emergency Department. Sherlin is a per diem educator for the same facility where she conducts patient simulation and teaches Advanced Cardiac Life Support. She also works for a community partnership at another local hospital. In that position, she implements a variety of programs to introduce students to various health care professions. She recently won the “Excellence in Clinical Simulation” award from Education Management Solutions.
Sponsored Content:
